The Master Admin MUST create a Role/Roles prior to creating a User.
Roles
Following screen appears after clicking on Roles:
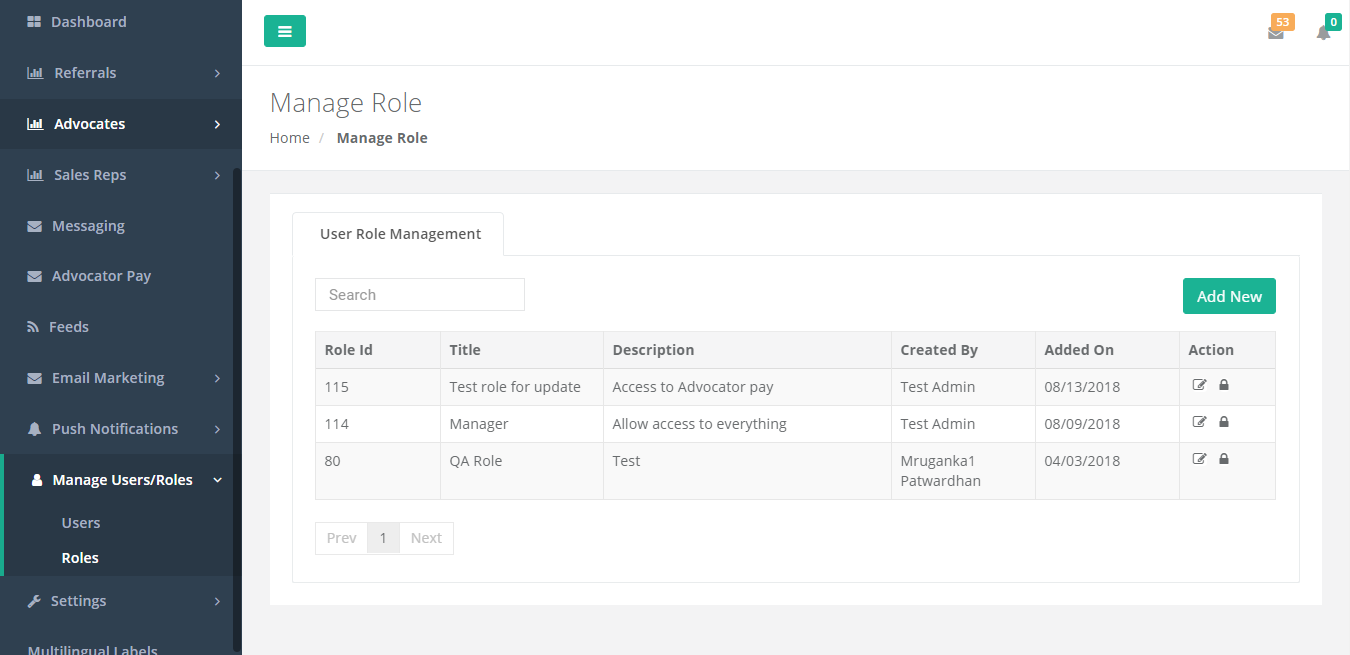
Figure 79: Manage Role
The above screen displays the grid details for Roles. You can Add/Edit/Delete and set access level Permissions to each Role.
The desired Role can be searched using Search Field.
- It contains following grid items:
- Role Id
- Title
- Description
- Created by (Name of User who created the Role)
- Added On (The Date on which the roll is added/created)
- Action: Click on “Edit” icon, to edit a particular Role
- Click on “Permission” icon, to set permission for a particular Role
The following screen appears after clicking on Permission icon:
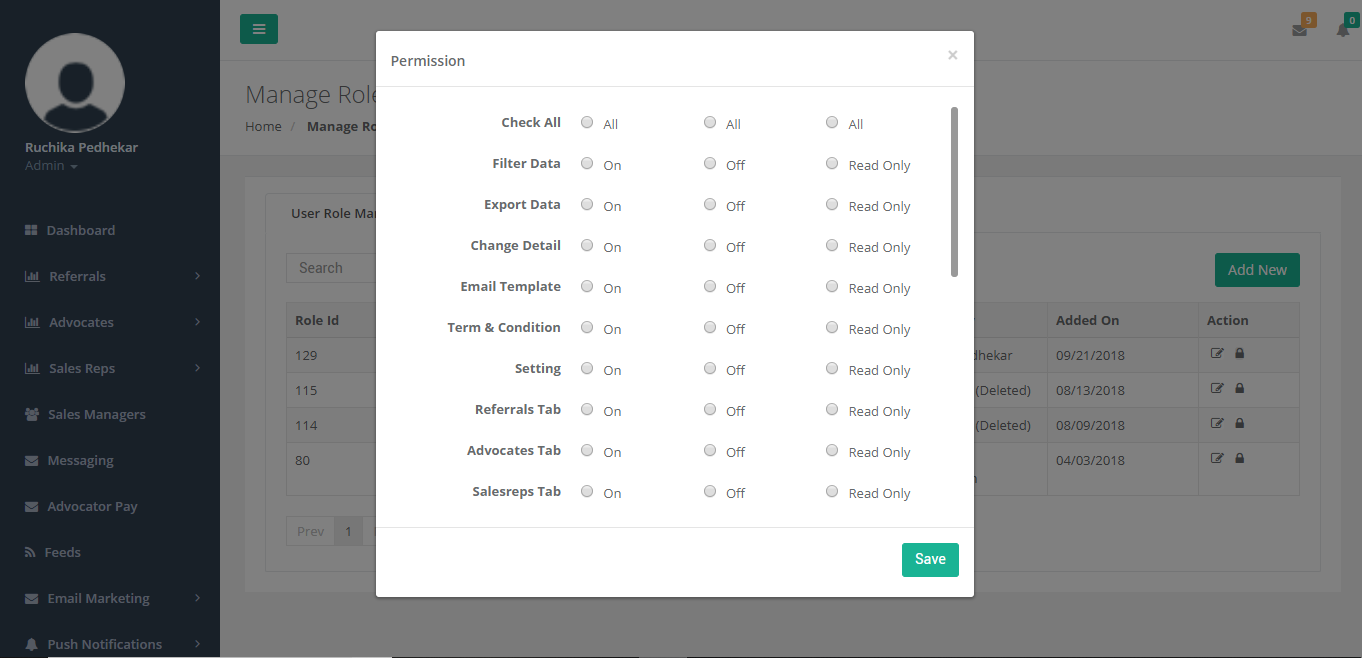
Figure 80: Manage Role – Permission
The above screen displays the list of permission for Role. You can select and set permission access for a particular Role and click on Save button.

The following screen appears when clicked on “Add New” button:

Figure 81: Add New Role
Steps to add New Role
- Enter Title in the given field
- Enter Description in the given field
- Click on “Save” button to successfully add a new role
Users
Users Administration
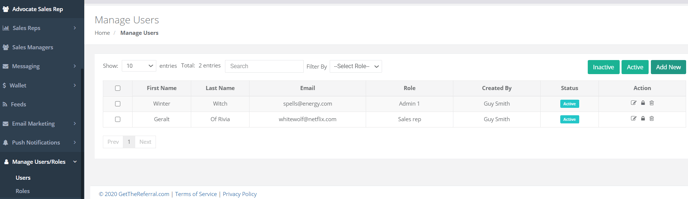
Figure 76: Manage Users
The above screen displays the grid details for Users. You can add and manage Users from here.
The desired User can be searched using Search Field.
Use Filter By option, to view user list of a particular role using “Drop Down List”
User Details grid contains following items:
- First Name
- Last Name
- Email Address
- Role of a particular user
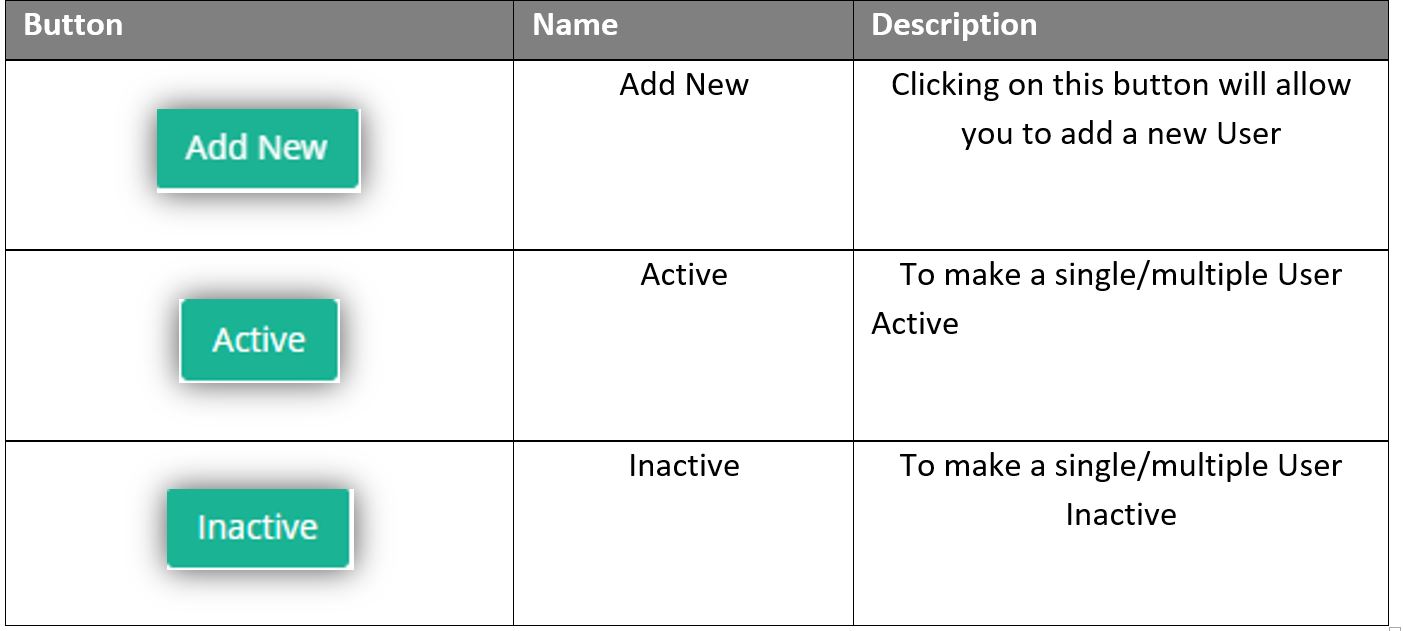
- Status of a particular user can be changed to Inactive by clicking an Active button or vice versa
- Action: Click on “Edit/Delete” icon, to edit/delete a particular User
- Click on “Permission” (lock) icon, to set permission for a particular User
Following screen appears after clicking on Permission icon
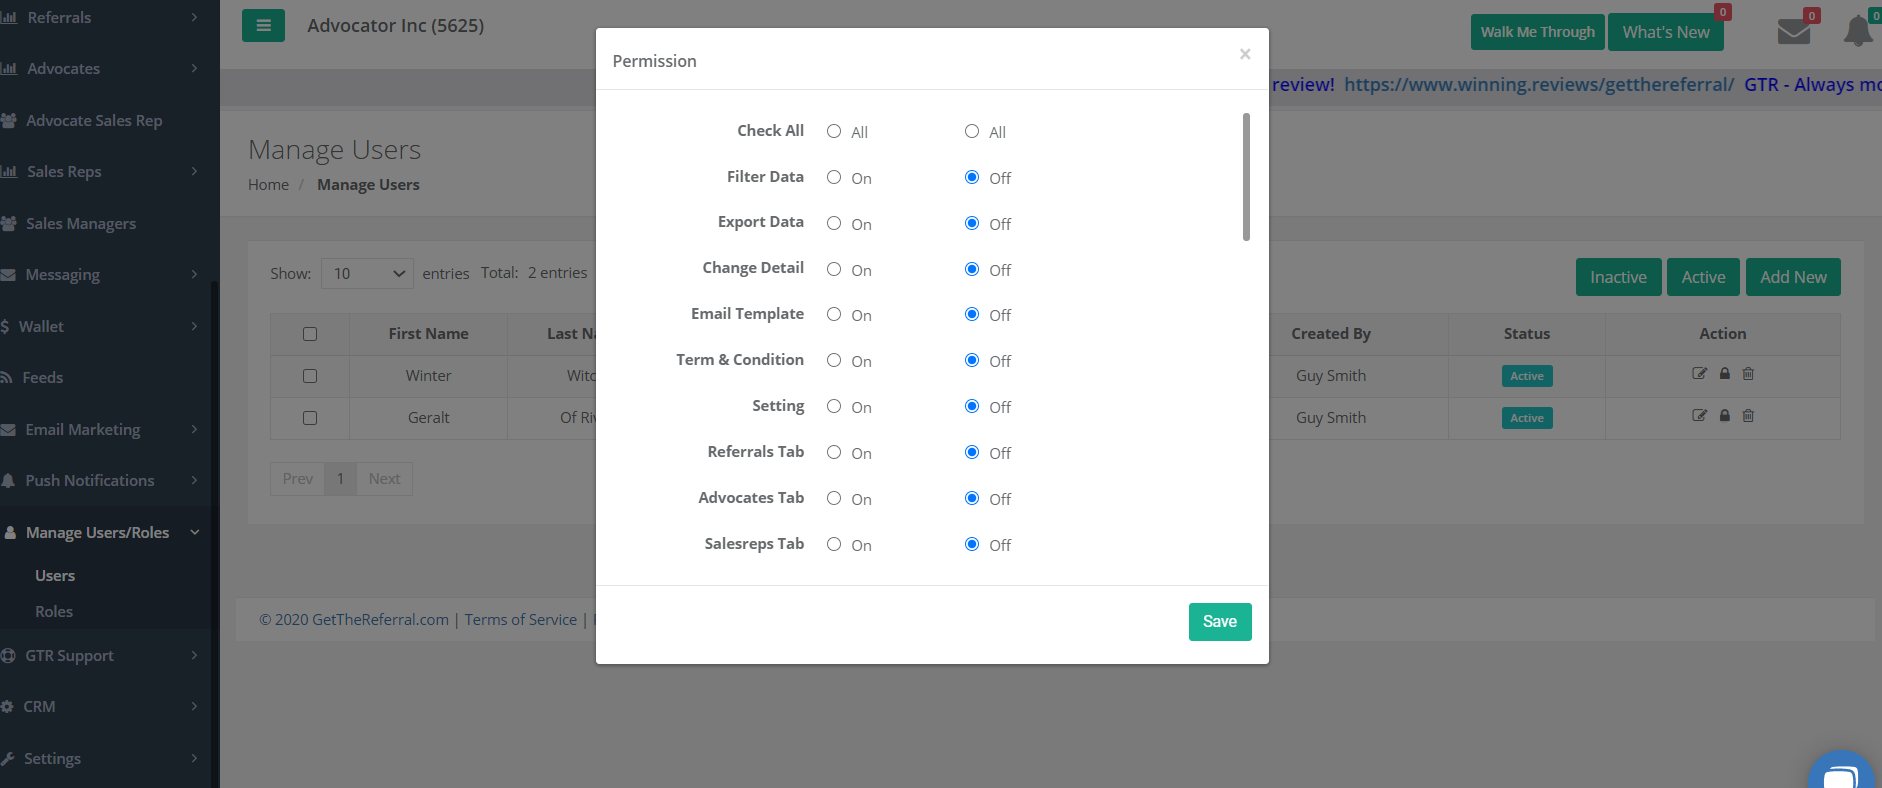
Figure 77: Manage Users – Permission
The above screen displays the list of permission for Users. You can select and set permission access as On/Off for a particular User and click on Save button.
- Click on “Next” to view next users list
- Click on “Previous” to view previous users list
Add Custom Users
Following screen appears when clicked on “Add New” Tab
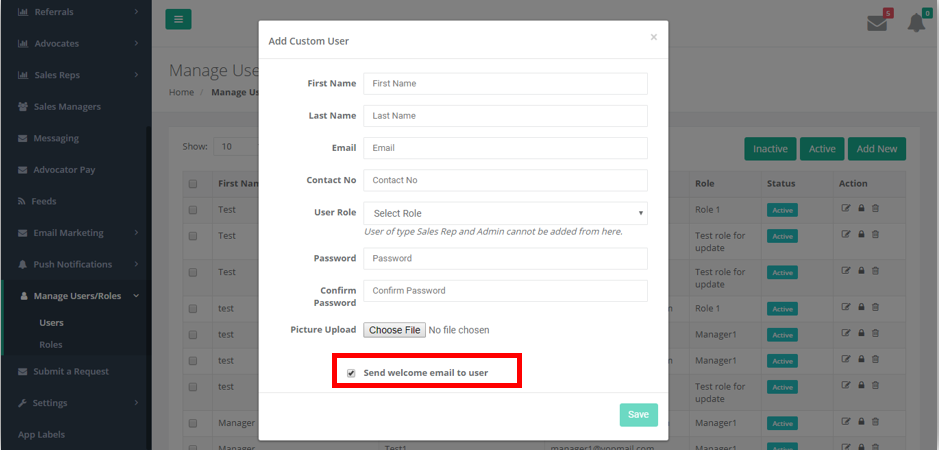
Figure 78: Add New User Form
Steps to add New User
- Enter the First Name in the given field
- Enter the Last Name in the given field
- Enter Email in the given field
- Enter Contact No. in the given field
- Select the User Role using the drop-down list
- Enter Password in the given field
- Enter Confirm Password in the given field
- Click “Choose File” button to upload a picture
- Select the check box “Send Welcome Email to User”, if you want to send a welcome email to user
- Click on “Save” button to successfully add a new user