How to Enable & Change Push Notifications for Project Stages
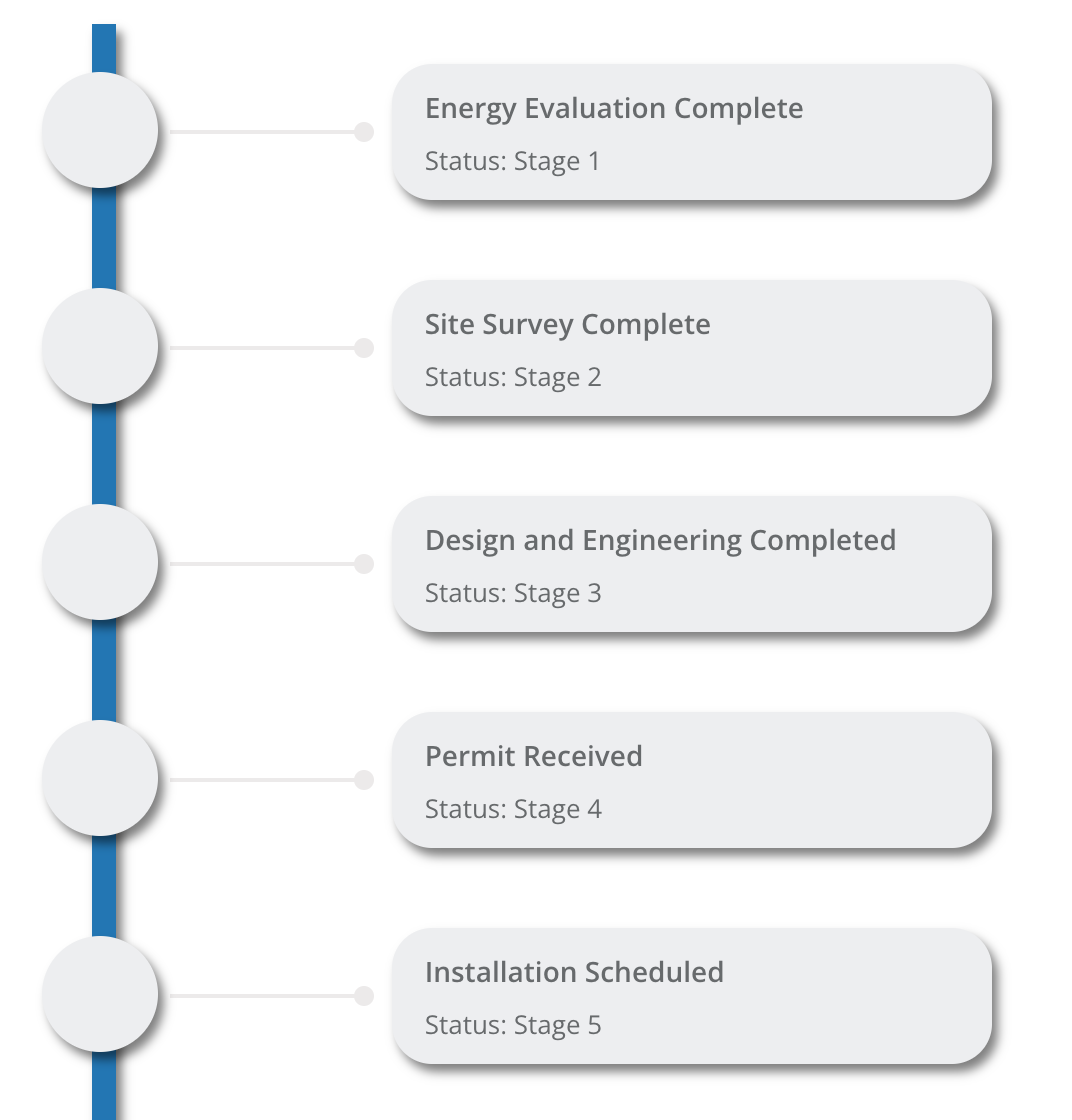
Project Stages for customers: One of the biggest incentives for Advocates to download the application is staying updated on the project that is being worked on.
Project Stages engages advocates to check on the application, as push notifications are sent each time a project has moved to the next stage.
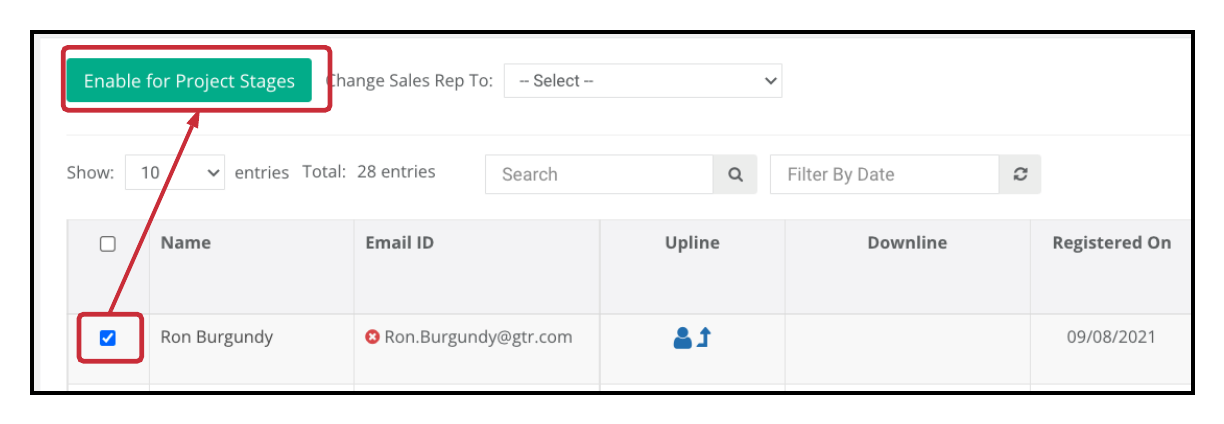
To enable customers to receive project stage updates, go to
Location: Advocates > All
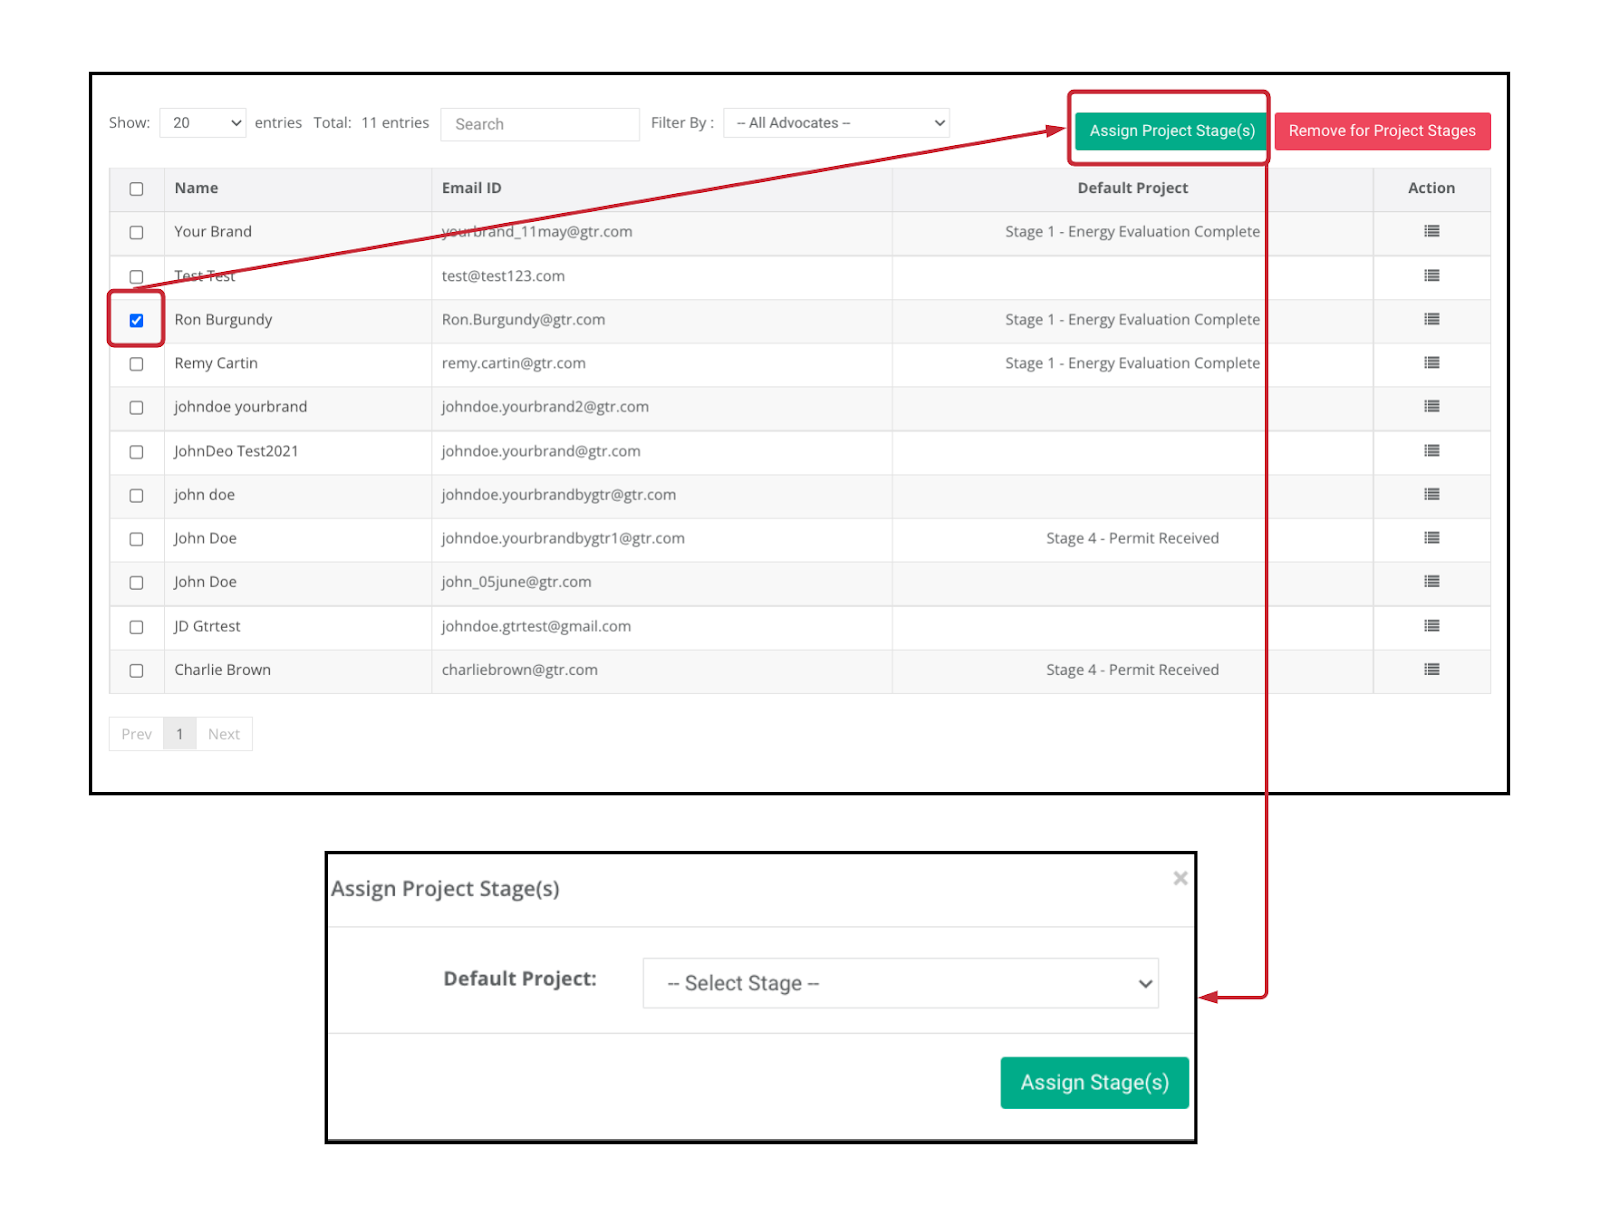
How to change the Project Stages
In order change the project stages, the Company Admin must go to
Location: Advocates > Customer Project Management
How to change the project stage or remove from project stages
- the checkbox on the left row must be selected
- proceed to click the green box saying Assign Project Stage(s).
- A Popup with drop down for Project Stages will open
- Once the project stage is selected on the dropdown and you click Assign Stage(s) on the bottom,
- a push notification will be sent to the advocate about their Project Stage being updated.
Edit the Push Notification Template
Company admins can edit the default template that GTR supplies, just like for other Push Notifications
Location: Push Notifications > Templates
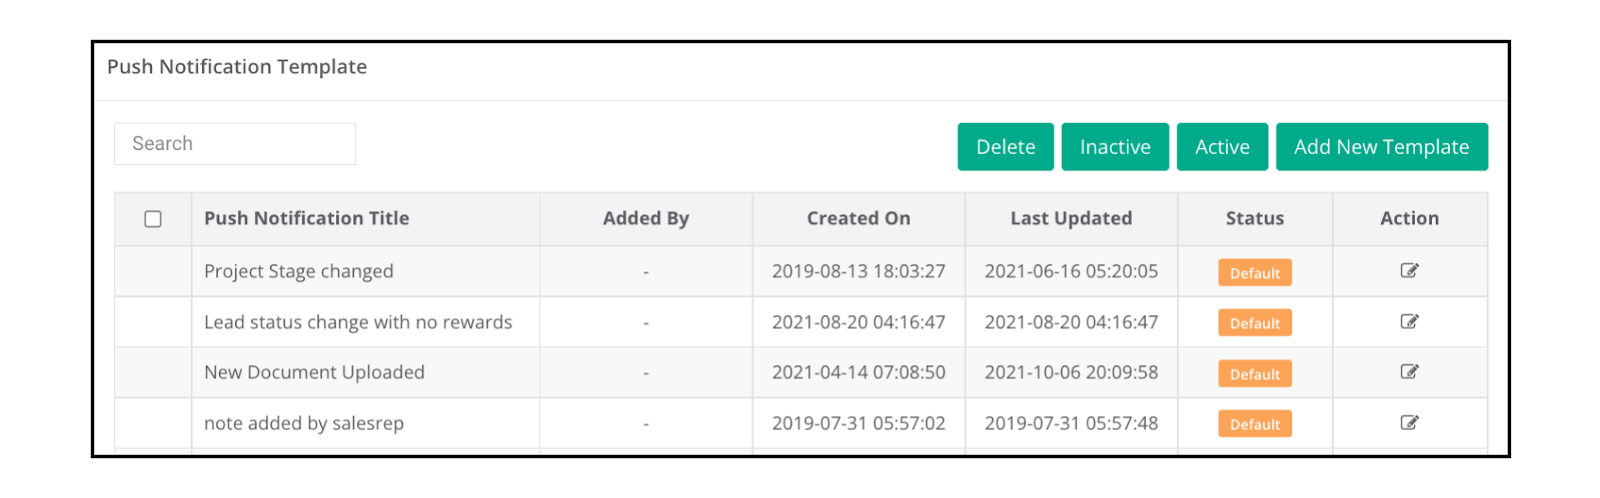
The Company Admin can click on the action button to edit the template, it will display a popup to Edit Push Notification Template.

Once saved, the status of the Push Notification Template changes from “Default” to “Active”
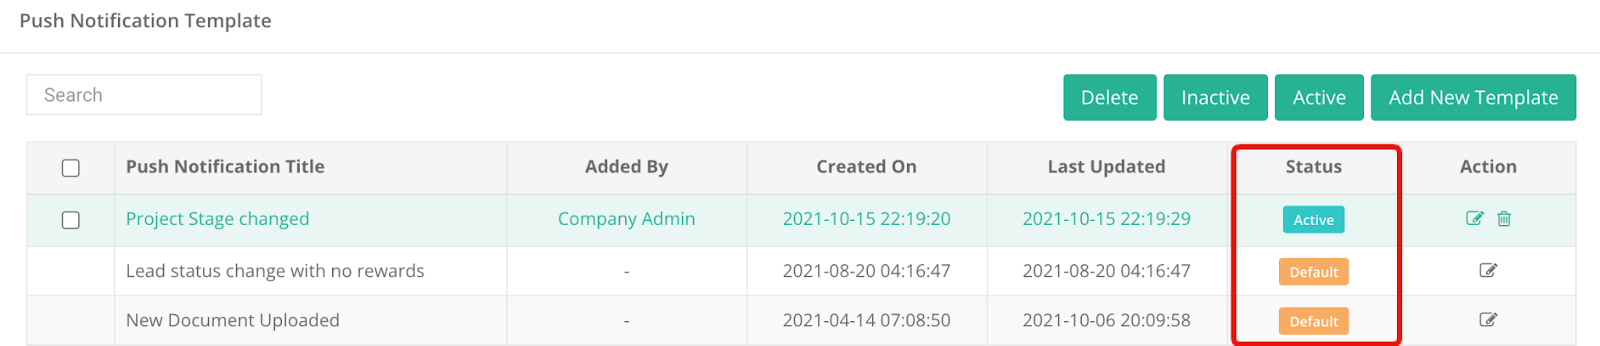
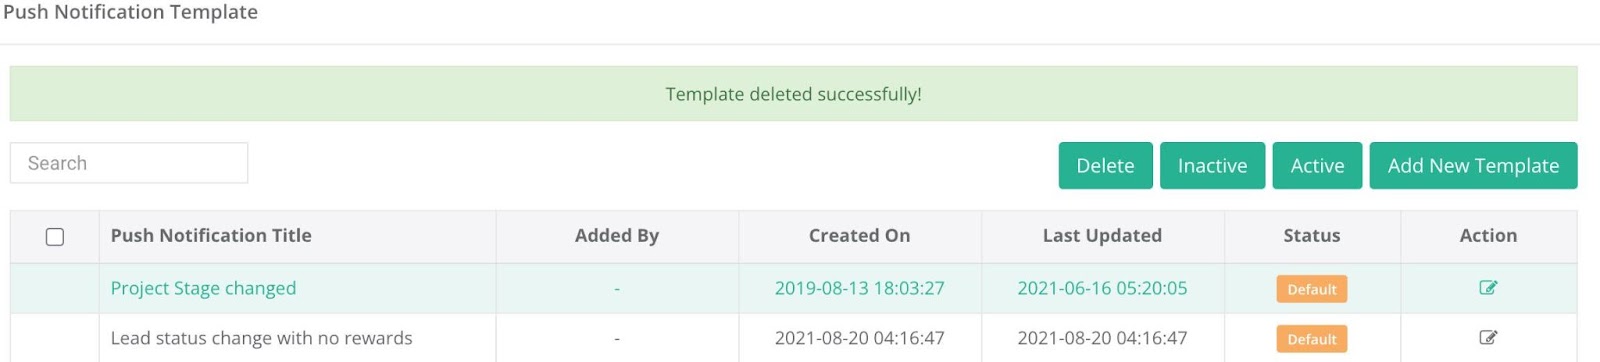
In the Action Header Row, Company Admins can delete the edited Push Notification Template, but can only do this if it is a new template, or the edited default template that changes status from ‘Default’ to ‘Active’
If the edited template is deleted, the default original template will re appear
How to Deactivate Push Notifications
- In order to accomplish this, go back to editing the default template
- Once this happens, click on the checkbox on the very left to select the template
- proceed to click on the “Inactive” green button