Email Manager
Email Manager can be found under the Email Marketing Tab in your Advocator Dashboard
Email Manager is used to send an Email to different users of a Partner Company. The Default User roles and the roles which are added from Manage Users/Roles Module are displayed on this screen in various tabs
The following are the default user roles:
- Admin
- Advocate
- Sales Representative
- CRM Admin
- Sub Admins (Partner Company)
Clicking on the respective tab, you can view a list of users of a particular role and will allow you to send email to different users.
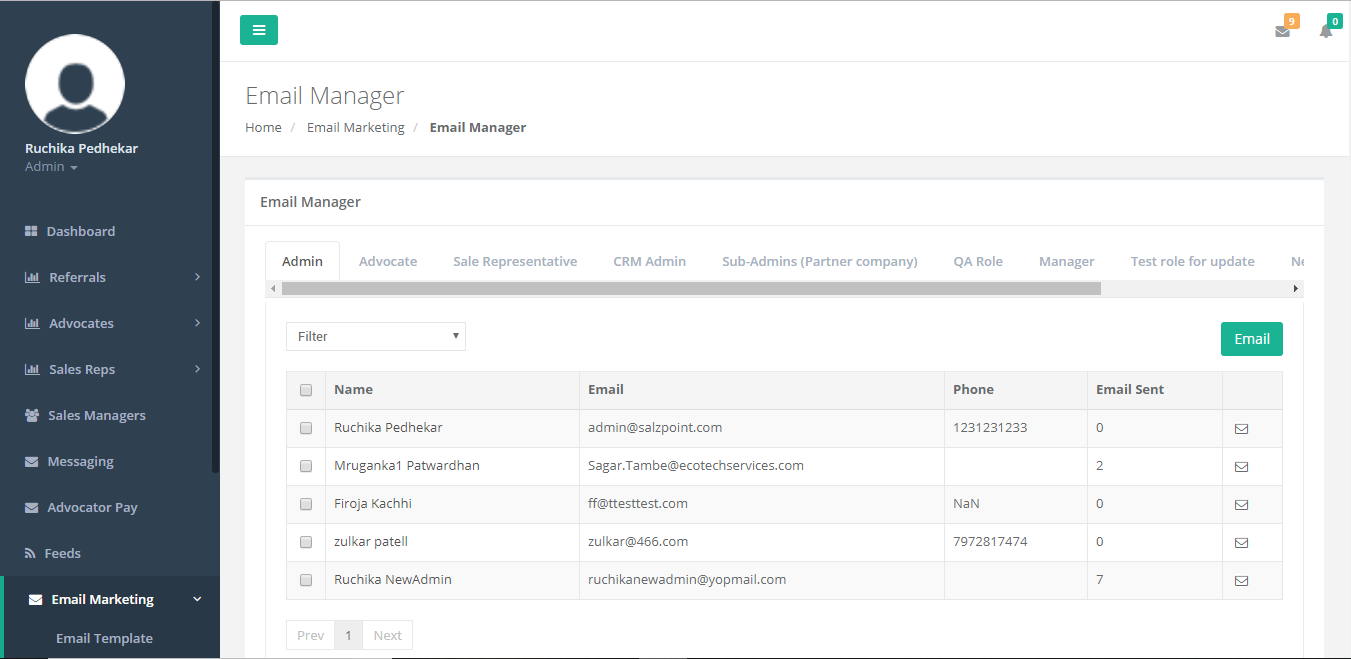
Following screen appears after clicking on Email Manager

Figure 61: Email Manager
The above screen displays the grid details for Email Manager. You can Manage and send emails to different user role. You can also send an Email to multiple Users instead of sending one at a time.
Steps to Send an Email to multiple users:
- Select User Names using check box
- Click Email button

The following screen appears when clicked on “Email tab/ Message Icon”

Figure 62: Compose Email
- Select “Compose Email Tab” to compose Email
- Selected Recipient Email Address is displayed in the given field
- Enter your Subject in the given field
- Enter rich-text content in the Body Section and can edit the content as per provided option for e.g.
change font color, font heading, attach an image, insert a table, insert a link, etc. - Upload an attachment by clicking on Choose file
- Select the check box to save the composed Email as Template
- Enter the Template Title in the given field
- Click on “Send” to send Email
OR
- Select “Send Email Tab” to send Email
- Selected Recipient Email Address is displayed in the given field
- Select “Email Template” from the drop down list
- Click on “Send” to send Email
Uploading an Attachment
The following screen displays how to upload an attachment to email.

Figure 63: Uploading an Attachment to an Email
Sending Monthly Stats to an Advocate
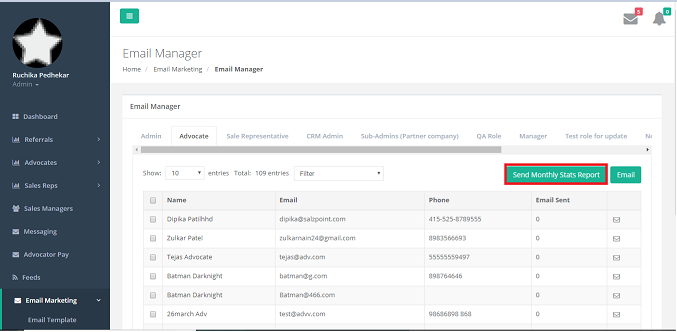
The following screen appears after clicking on Advocate Tab in Email Manager

Figure 64: Email Manager – Advocate
From the above screen you can send Monthly Stats Report to each Advocate. There is also a provision to send Monthly Stats to multiple Users instead of sending one at a time.

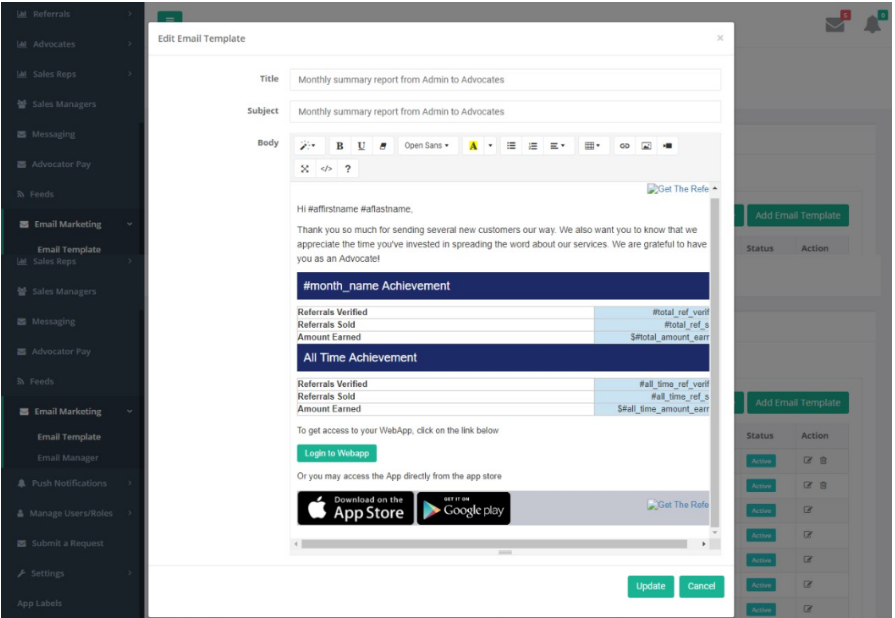
The “Monthly Stats Report from Admin to Advocate” Email Template is used to send a monthly stats report. You can view this template in Email Template module.
The following is the Email Template for "Monthly Stats from Admin to Advocate"

Figure 65: Email Manager – Monthly Stats-Email Template
Importing Contacts into Email Manager and Sending an Invite
The following screen appears after clicking on the Contact Tab in Email Manager

Figure 66: Email Manager - Contact
To import contacts, click on Download Sample File from the above screen as shown below:
You have to first the download sample file and insert the contacts into the CSV file.
The Contact with same email and phone number will not be inserted.
Once the contact is inserted you can email them with template (we already created ‘inviting to become advocate’, template).
Once the contact user receives an email they will click on link and fill the form to become an Advocate.
Note: You can upload only CSV Files.

Steps to download sample CSV file and import using sample file
- Click on Download Sample File, open the file and enter the contacts
- Save the CSV File in your system
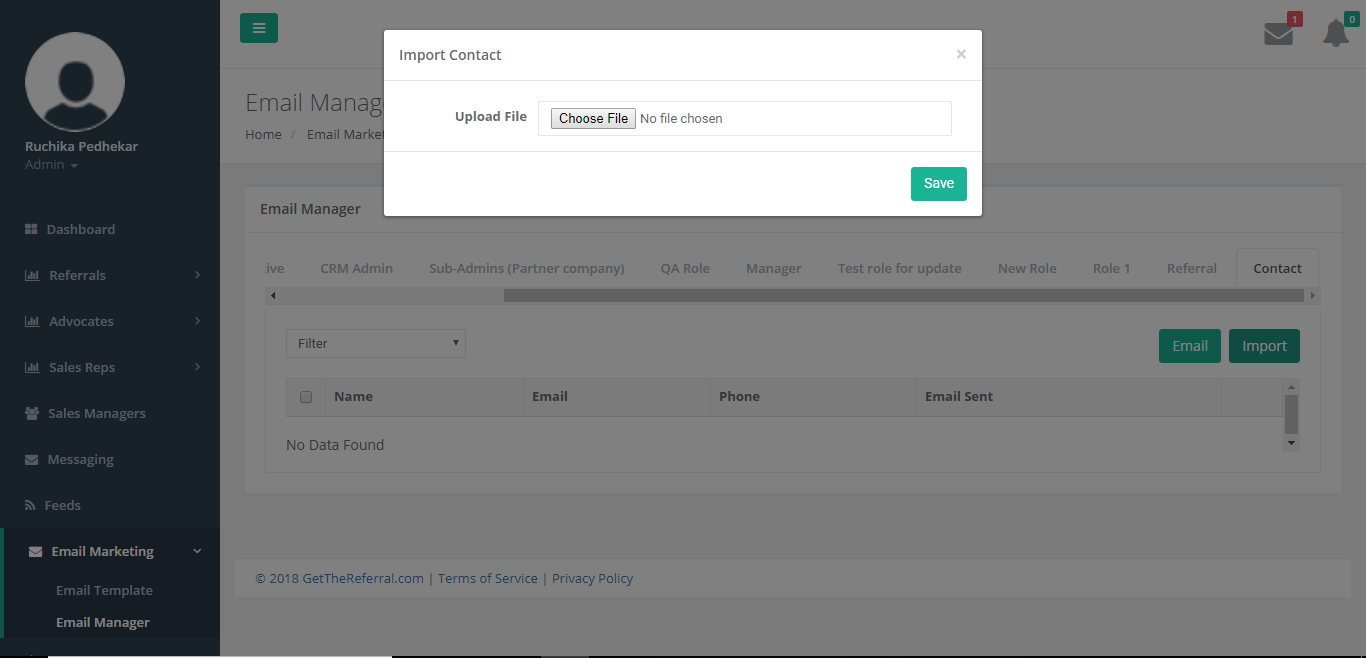
- Click on Import button, you will see a pop-up to import contact
The following screen appears after clicking on the Import Button under the Contact tab in Email Manager

Figure 67: Email Manager – Contact-Import
4. Choose the CSV file and click on Save
5. You will see the contacts in the grid

Figure 68: Email Manager – Import Contact
6. Click on Email and Select the below Template: Invite Contacts to become Advocates

Figure 69: Email Manager – Send Email to Contact
7. Select Send Email
8. When your Contact receives your email, they will receive a call to action to Become an Advocate. Once clicked, the Advocate Registration form will appear prompting the contact to up to fill out your form.
Figure 71: A Sample Advocate Form