Company Cam User Flow Process
Step 1: Your customer will download Your Company app and create an account to become your advocate

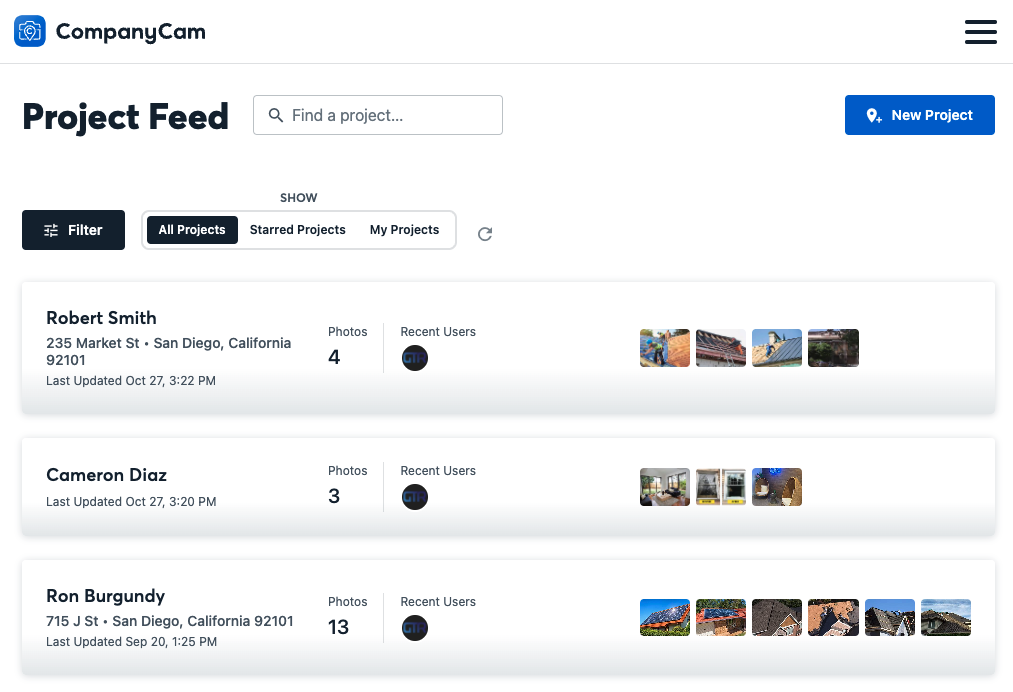
Step 2: GetTheReferral will automatically create a project in CompanyCam with the advocate’s name
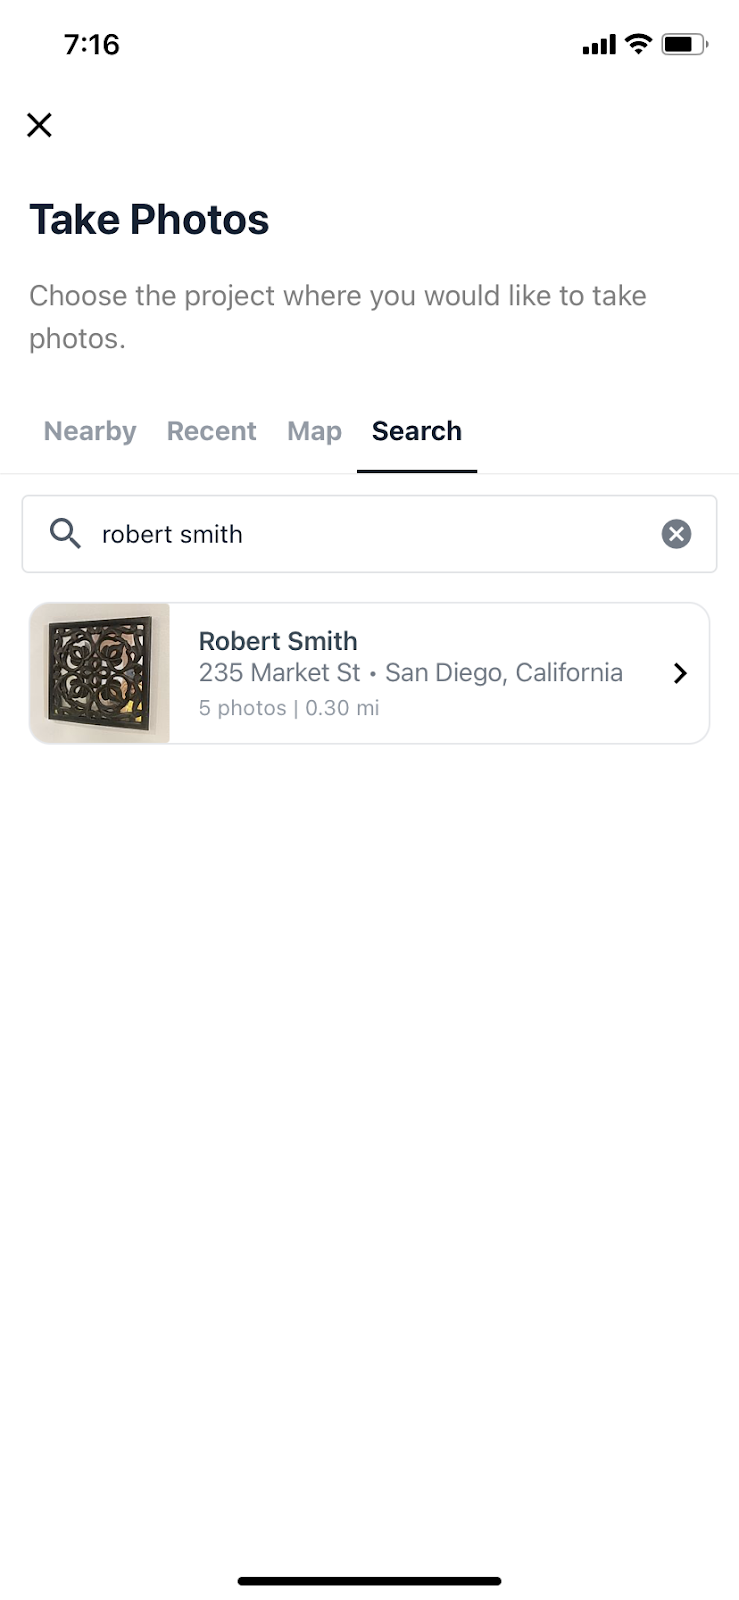
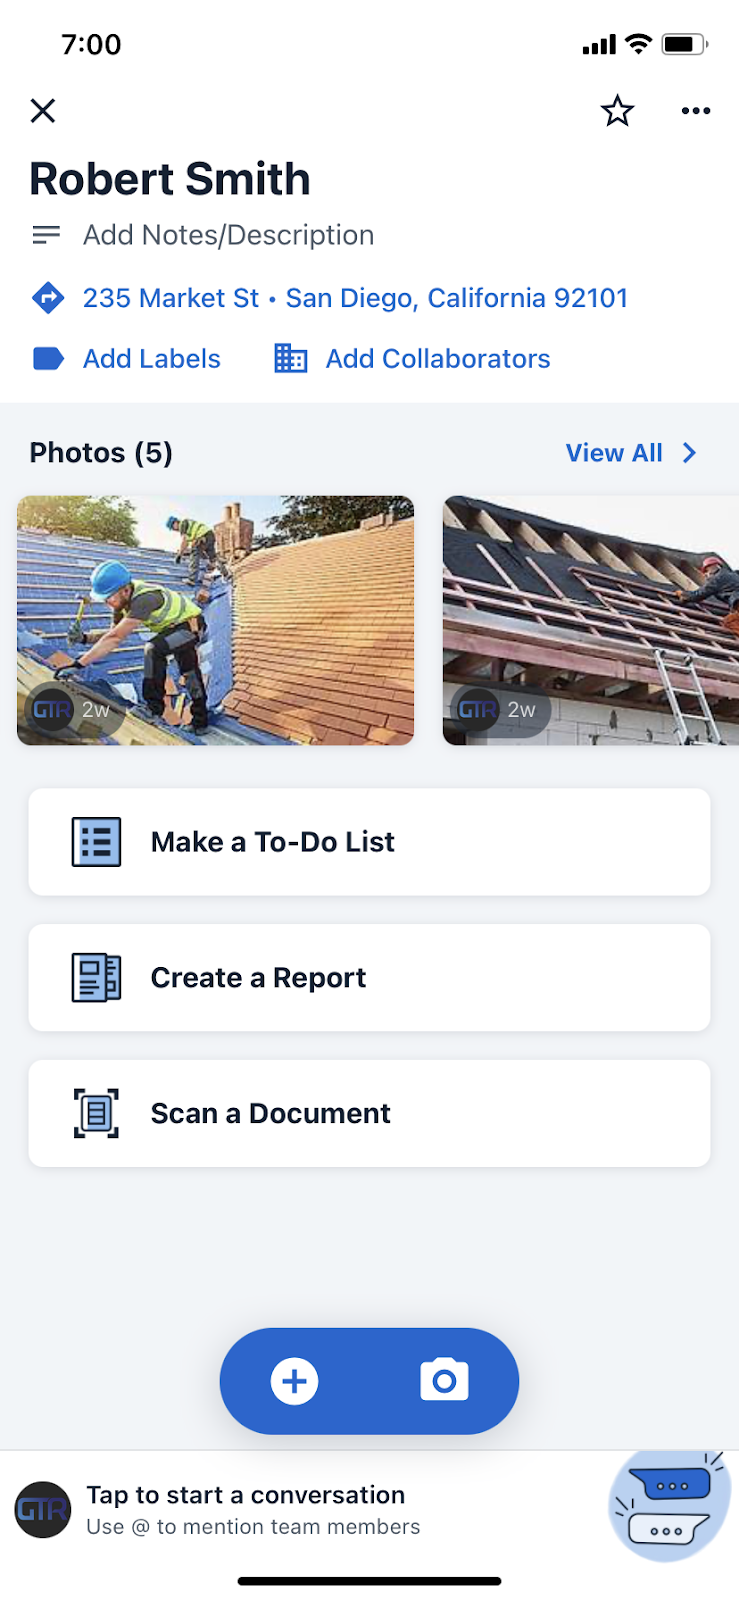
Step 3: CompanyCam’s user (e.g., your project manager on site) will locate the advocate’s project in the CompanyCam app and take the pictures:
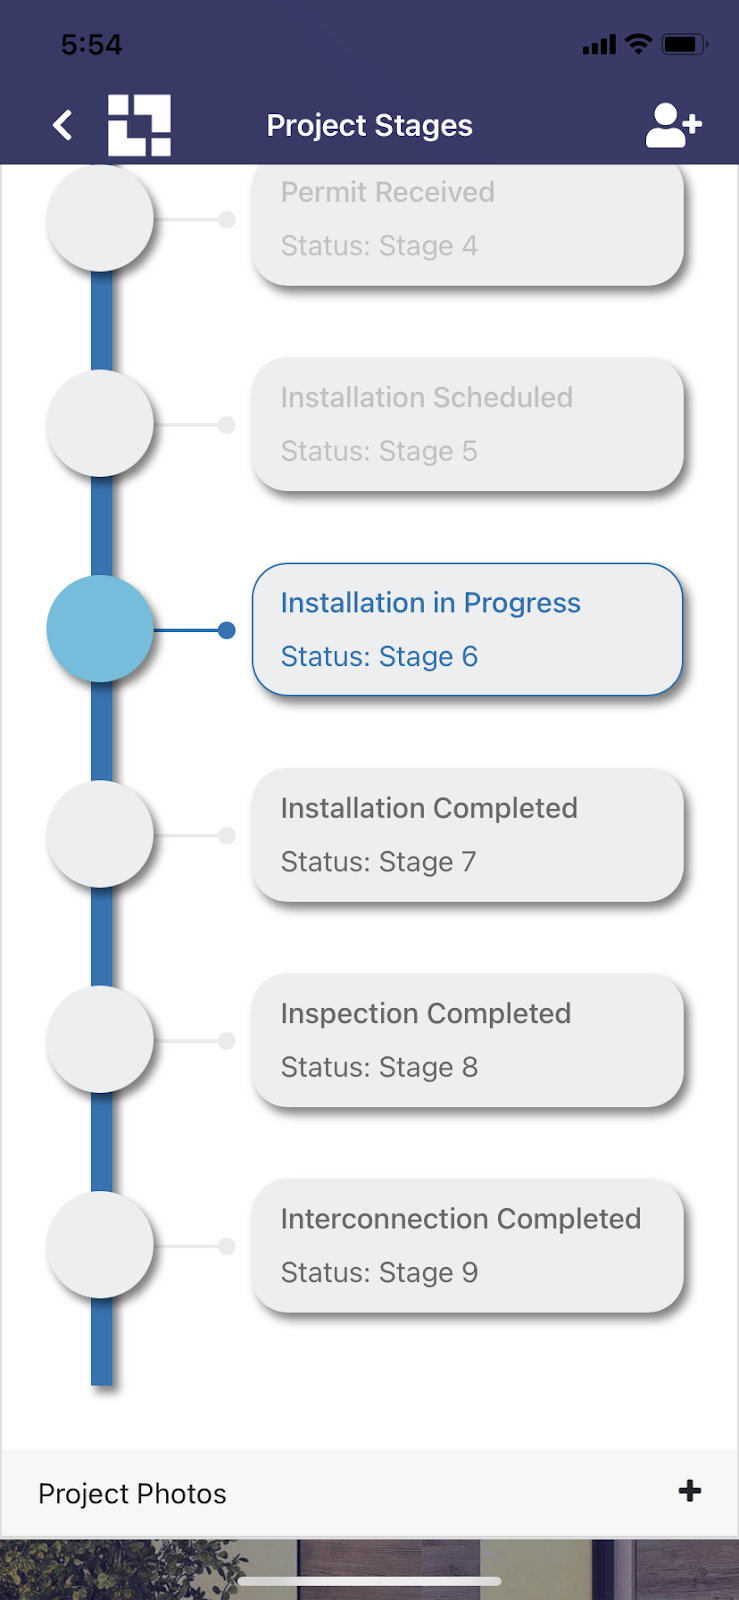
Step 4: Your advocate will get push notifications when pictures are uploaded to their project and will access the pictures in Your Company app:

The GTR account administrator can also see the pictures in GTR dashboard:
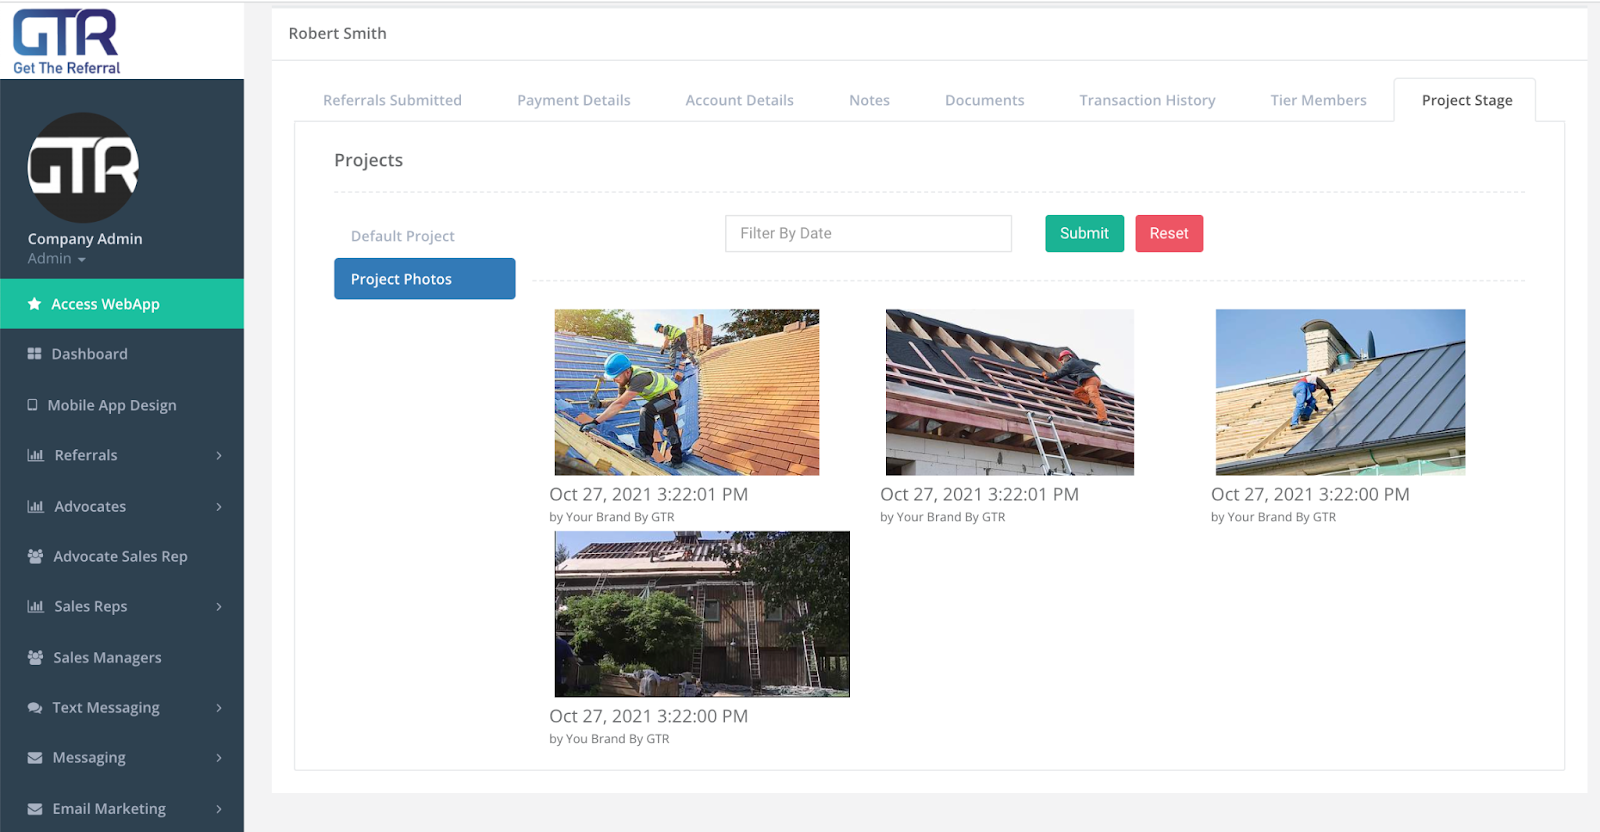
Note: GTR will load the last 30 pictures by default. To retrieve older pictures, use the “Filter By Date” feature.
Tagging Feature:
The tagging feature
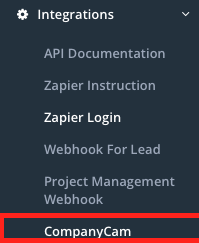
Step 1: Click 'Integration' on GTR Dashboard
Step 2: Select 'CompanyCam'
Step 3: Company admin may type in any tag they want for GTR to pull pictures related to the created tag. For reference we provided an example tag “GTR”.
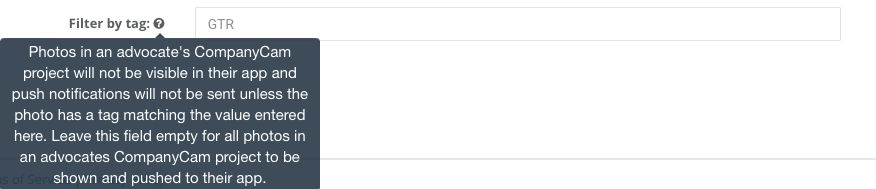
Note: The tag inputted must match the tag added when a photo is uploaded. For example if tag is set to “TESTER” the photo that will be tagged must be “TESTER”